I started making this wreath earlier this year, but only finished putting together the felt flowers. Last year I made a dozen wreaths for friends and family, including two yarn and felt wreaths. By the time I got ready to make this one, I got really busy with work and haven't touched it since. With this weekend being a holiday, I have a little extra time to craft and decided to finish this one.
These are very easy to make but are time consuming, particularly wrapping the wreath. For this design, I used the following materials:
- straw wreath (from Michael's)
- red and burgundy felt
- faux crystal sprigs
- white and red ribbon
-
white yarn
- pearl head pins
- glue gun
As mentioned above, I had already created the felt flowers, so I can't show pictures of that process. They are easy: just cut felt circles of different sizes. For the roses, cut the circles in a spiral pattern and start rolling them together from the outside in and use the glue gun to glue the bottom to keep them together. I wrapped a couple around the crystal sprigs. For a different look, cut a rectangle of felt about 20 cm long, fold it in half and roll it up. Then cut the roll up, until you have a good number of pieces (as you can see below).
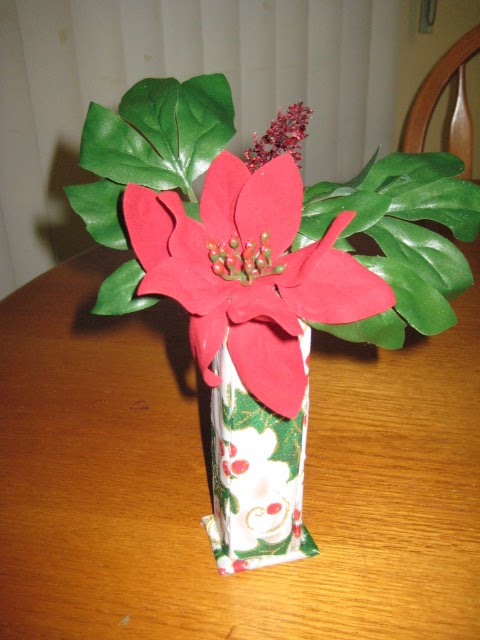
Here's a picture of the flowers I made for this wreath:
For the wreath itself, I start by looping some ribbon to create the loop that will ultimately hold the wreath. Then, just wrap the entire wreath in the yarn (this takes a while, I think it took about two hours).
I decided to add some extra detail to this wreath by creating an argyle look with red ribbon.
Finally, the felt flowers are glued on in the preferred arrangement. For extra stability, I placed a pearl head pin down the centre of each flower.
On another note, this week my hubby and I also finally got our next tattoos. Rather than add a separate post, I figured I'd post it here. As I'm both a lawyer and a Libra, I've wanted this design for years, but just hadn't gotten around to getting it done. The hubby was getting a new piece on his arm and I was waiting, so I figured I could make better use of my time by getting the scales of justice done. The artist added the Libra sign at the top.
I love it!!!